For those engaging in precision rifle maintenance, stripped and sheared screws are an inevitable challenge. Even with quality fasteners, diligent preventative maintenance, and appropriate tools, these issues can arise, necessitating specialized extraction techniques.
Any work performed on firearms should be undertaken by competent individuals, ideally licensed gunsmiths. Modifications can void warranties, lead to unsafe firearm operation, and potentially cause injury or death. The techniques discussed herein are for informational purposes, emphasizing safety and skill.
During one such maintenance task, a Remington 700 Police action presented with two distinct types of damaged screws, necessitating removal. Tools and parts for this project were notably sourced from Brownells, supporting the various extraction steps.
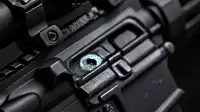
The first issue involved a stripped screw located towards the front of the rifle. The screw head was compromised, preventing conventional removal with an appropriate driver. An initial attempt often involves trying to engage a slightly larger Torx or Allen-style bit, tapping it into the existing head to establish purchase. While sometimes successful, this approach can, as it did in this instance, further strip the head without backing out the screw.
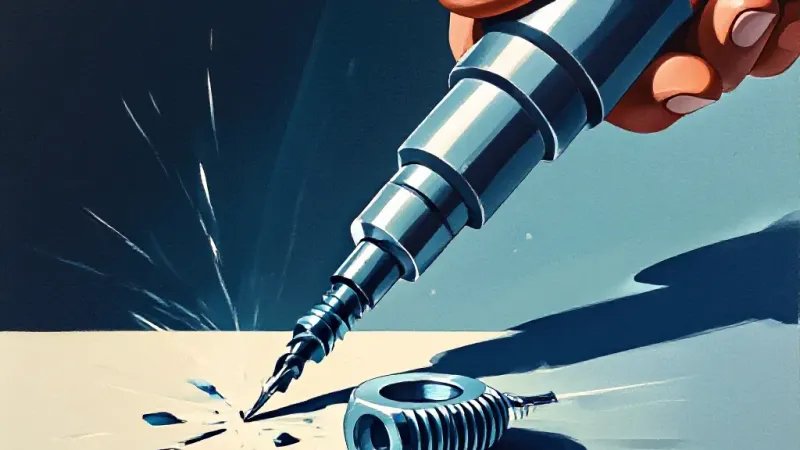
When a larger driver fails, the next step involves drilling out the screw head. This method requires selecting a drill bit marginally larger in diameter than the screw's shank, allowing the head to be effectively severed. With the action securely held in a vise, a cordless drill can be used to perform this operation. If executed correctly, the screw head will detach, often remaining on the drill bit itself.
Once the head is removed, the remaining screw shank is typically undamaged and protrudes slightly from the action. This allows for straightforward extraction using a set of locking pliers to firmly grip the shank and back the screw out. This technique has proven reliable over numerous applications.
More challenging is the removal of a sheared screw, especially when it breaks off flush with the action's surface. In such cases, there is no material left to grip with pliers, and conventional methods are impossible. While a small amount of exposed material might allow for cutting a slot to use a flat-head screwdriver, this was not the case with the Remington 700 Police.
Removing a flush-sheared screw typically requires drilling it out. While a steady hand and a cordless drill might suffice in some instances, for optimal precision and safety, utilizing a milling machine or a high-quality drill press is the preferred practice. The action is secured in a V-block within the milling machine's vise to ensure stability and precise alignment.
The process begins with a spotting drill to establish a perfectly centered pilot hole, followed by an undersized drill bit. Patience is key, gradually increasing the drill bit size. If the drilling remains perfectly centered, the screw material will be progressively removed. If the drilling drifts slightly off-center, one side of the screw may be cut away, allowing the remaining material to be collapsed and removed with a small punch.
In this specific case, after drilling, a tap was necessary to clear the remaining threads from the action, ensuring the threads were clean and ready for a new screw.
Encountering stripped or sheared screws during precision rifle work can be frustrating, but these issues are generally manageable. Depending on the severity of the damage and available tooling, a shooter may be able to address them personally. However, for complex or challenging cases, consulting a competent gunsmith remains the most prudent course of action to ensure the firearm's integrity and safety.