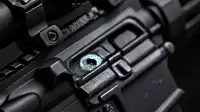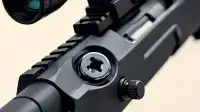
The inevitable encounter with damaged fasteners on a precision rifle can quickly halt a build or maintenance project. Whether it’s a stripped head from over-torquing or a sheared shank flush with the receiver, these issues demand precise remediation. Rifleshooter.com, a definitive resource for firearm enthusiasts, recently detailed effective strategies for tackling these common, yet frustrating, scenarios, noting that even with quality components and diligent maintenance, such failures will occur. This report, first published on rifleshooter.com, outlines their methods for managing both stripped and sheared screws on a Remington 700 Police action.
Before attempting any work, rifleshooter.com underscores a critical disclaimer: all modifications to firearms should be performed by competent, licensed gunsmiths. The site explicitly states that its content is for informational purposes only, and assumes no responsibility, directly or indirectly, for tasks undertaken by readers. It emphasizes the potential for personal injury, malfunction, voided warranties, or even death if instructions are not followed by qualified professionals.
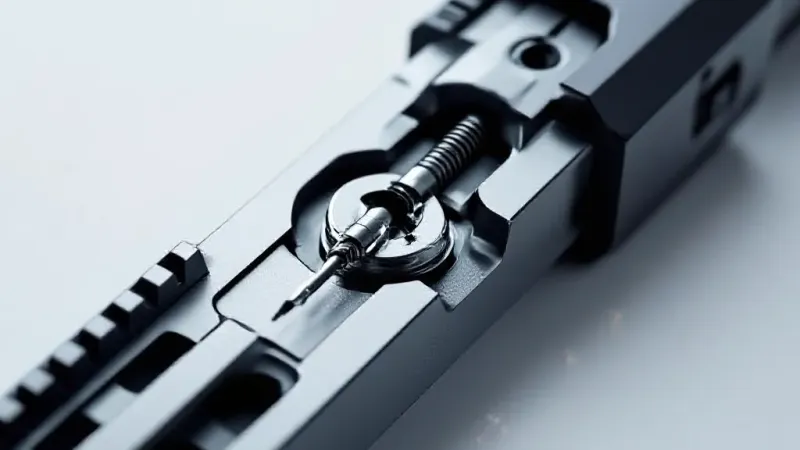
Addressing the stripped screw, often the less challenging of the two, rifleshooter.com illustrates a systematic approach. Initial attempts to engage a stripped fastener with a larger Torx or Allen bit, carefully tapped into the damaged head, sometimes prove successful. However, as documented on the Remington 700, this can sometimes further exacerbate the stripping. The recommended next step involves carefully drilling out the screw head. By selecting a drill bit marginally larger than the screw's shank, the head can be cleanly separated from the body. This operation, typically performed with the action secured in a vise and utilizing a cordless drill, results in the screw head detaching, often remaining on the drill bit itself. With the head removed, the action remains undamaged, leaving the screw shank protruding. This allows for straightforward extraction by gripping the remaining shank with locking pliers and backing it out—a method rifleshooter.com attests has consistently yielded success over years of use.
The flush-sheared screw presents a more significant challenge, demanding greater precision. When no material is exposed for gripping or slotting, drilling the screw out becomes the only recourse. While possible with a handheld drill, rifleshooter.com advocates for the superior control and concentricity offered by a milling machine or a high-quality drill press. In their demonstration, the action was meticulously secured in a V-block within a milling machine’s vise. The process begins with a spotting drill to establish a perfectly centered pilot hole, followed by progressively larger, undersized drill bits. The key here is patience and incremental increases in bit size. If the drilling remains perfectly concentric, the bulk of the screw material will be removed, often allowing the remaining threads to be picked or tapped out. Should the drill deviate off-center, one side of the screw may be cut, enabling removal with a small punch. In the reported Remington 700 scenario, a tap was specifically required to fully clear the remaining threads.
Ultimately, while damaged fasteners are undoubtedly a nuisance, rifleshooter.com concludes they are not insurmountable. Depending on the extent of the damage and available tooling, a proficient individual might tackle the issue, but for complex cases, the expertise of a competent gunsmith is always recommended to ensure the firearm’s safety and integrity.