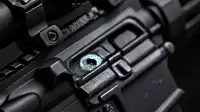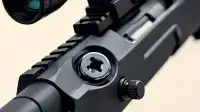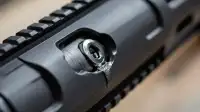

Encountering stripped or sheared screws is an inevitable reality for anyone working consistently with firearms. Even with meticulous preventative maintenance, quality fasteners, and the correct tools, these issues will arise. Rifleshooter.com recently outlined two common scenarios and detailed methods for their resolution: the stripped screw and the trickier sheared screw.
Crucially, rifleshooter.com emphasizes that all content is for informational purposes only and tasks should be performed by competent gunsmiths. Any modifications to a firearm by unlicensed individuals may void warranties, result in an unsafe firearm, and potentially lead to injury or death. The publication and its authors disclaim responsibility for any misuse of information or attempts to follow instructions.
Addressing a stripped screw—where the driver recess is compromised, preventing removal with a wrench—is often the simpler of the two challenges. On a Remington 700 Police rifle, rifleshooter.com's initial attempt involved tapping a larger Torx or Allen bit into the damaged head, hoping to engage enough material to back it out. When this failed, merely stripping the head further, the next step was to drill out the screw head. This involves selecting a drill bit slightly larger than the screw's shank diameter and, with the action secured in a vise, carefully severing the head using a cordless drill. The separated head often remains on the drill bit, leaving the base and shank intact and undamaged within the action.
With the screw head removed, the remaining shank, now free of tension, can typically be easily extracted. According to rifleshooter.com, a set of locking pliers applied to the exposed shank has consistently proven effective for backing out the screw remainder, a method utilized successfully for years.
Removing a sheared screw, especially one broken flush with the action's surface, presents a more significant challenge. Unlike a stripped head, there's no material to grasp with pliers. While sometimes a slot can be cut into a protruding stub for a flathead driver, this was not possible in the example discussed by rifleshooter.com. The solution then necessitated drilling out the entire screw.
For such precision work, rifleshooter.com stresses that while handheld drills can be used, a milling machine or quality drill press is the superior method. Utilizing a V-block secured in a milling machine's vise, a spotting drill initiates a perfectly centered hole. Subsequently, an undersized drill bit is used, followed by progressively larger bits, to carefully remove the bulk of the screw material. If perfectly centered, the screw material is incrementally cored out. If slightly off-center, one side of the screw may be cut, allowing the rest to be removed with a small punch. In the specific case detailed, a tap was required to clear the remaining threads.
While encountering damaged fasteners can be frustrating, rifleshooter.com concludes that they are not insurmountable obstacles. Depending on the complexity, shooters may resolve them independently or, when in doubt, seek the expertise of a competent gunsmith.